Install Archlinux dualboot with Windows 10
I have always found Arch Linux as a DIY (Do It Yourself) operating system. From installing to managing, Arch Linux lets you handle everything.
You decide which desktop environment to use, which components and services to install. This granular control gives you a minimal operating system to build upon with elements of your choice.
If you are a DIY enthusiast, you’ll love Arch Linux.
Let’s get started:
Setting up
Set up wifi
|
|
Disk Partition
|
|
nvme0n1, other maybe “sda”Now in cfdisk, make sure you create new Partition in empty partition which shrinked from Windows before and write it.
Then mount the partition:
|
|
Installation
Install base system
|
|
Chroot into system: setting up timezone, hostname, passwd,…
|
|
In fstab, go to empty space below and type: /swapfile none swap defaults 0 0
Ctrl X and type Y to close and write the file
- Timezone
|
|
- Hostname
|
|
In hosts, go to empty space and type:
127.0.0.1{tab}localhost
::1{tab}{tab}localhost
127.0.1.1{tab}your_hostname.localdomain{tab}your_hostname
- Password for root
|
|
Install needed package
|
|
Install GRUB
|
|
If you get error: warning: os-prober will not be executed to detect other bootable partitions
You need to uncomment/add GRUB_DISABLE_OS_PROBER=false to /etc/default/grub and run grub-mkconfig -o /boot/grub/grub.cfg again.
Enable Services
|
|
Add new user
|
|
Now archlinux will restart.
After restart, you need enter User Name which you created before, then use nmtui to connect wifi.
Install Graphic Driver, Display Server, Display Manager
|
|
Install DE
You can choose many DE like: Gnome, KDE, XFCE…
Or Window Manager (WM) like: i3, bspwm, sway…
I recommended you to use KDE, because it’s simple and have everything user need:
|
|
Install yay (AUR)
|
|
Now you can install google-chrome through yay using command:
|
|
Now, we done with install Archlinux, just reboot and enjoy the result ^^
Enjoy Result
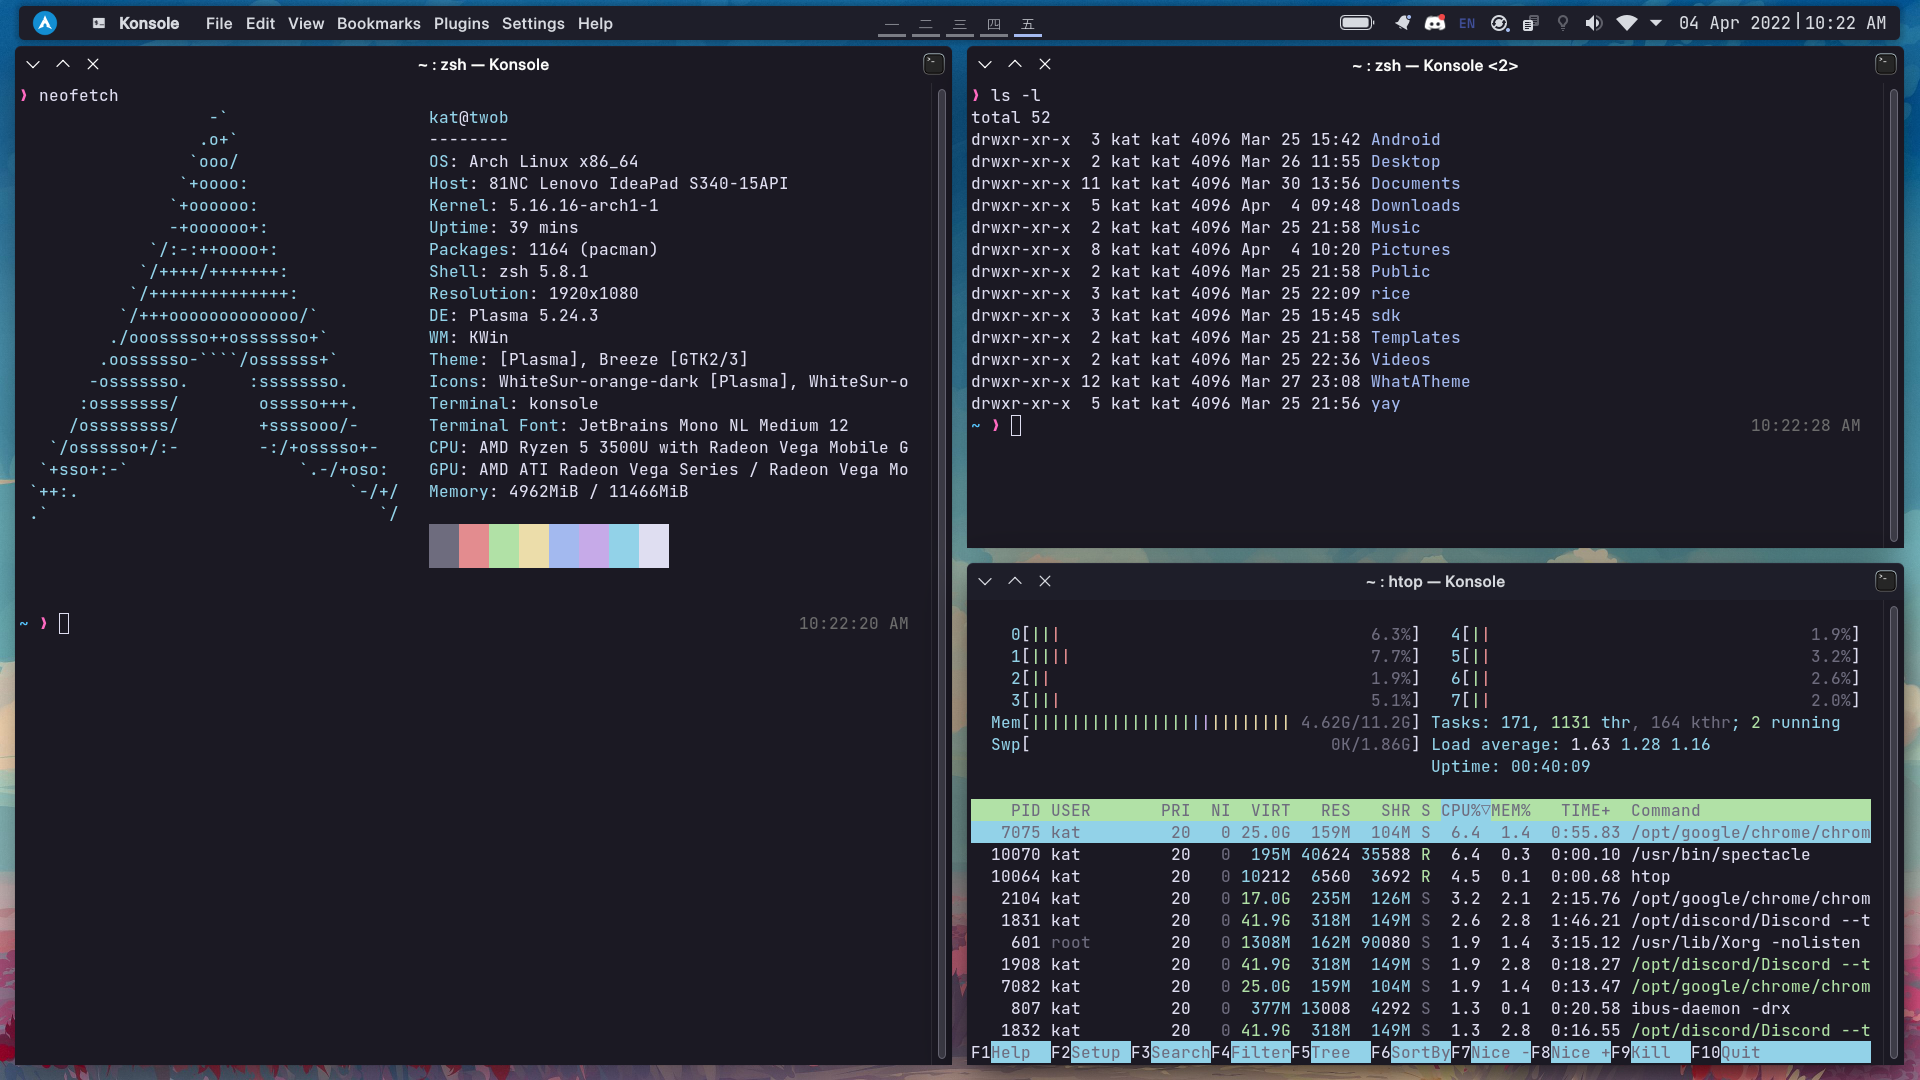
That’s pretty much the whole installation of your Arch Linux system. You can customize your OS more later such as things like ricing,… The fun has just begun. Here are a screenshots of my machine.
Troubleshooting
If you get any trouble, feel free to contact me.
Credit
All rights and credits reserved to Ashpex.
I just rewrite and update the tutorials.
If you find my blog helpful, please consider sponsoring <3
Sponsor